
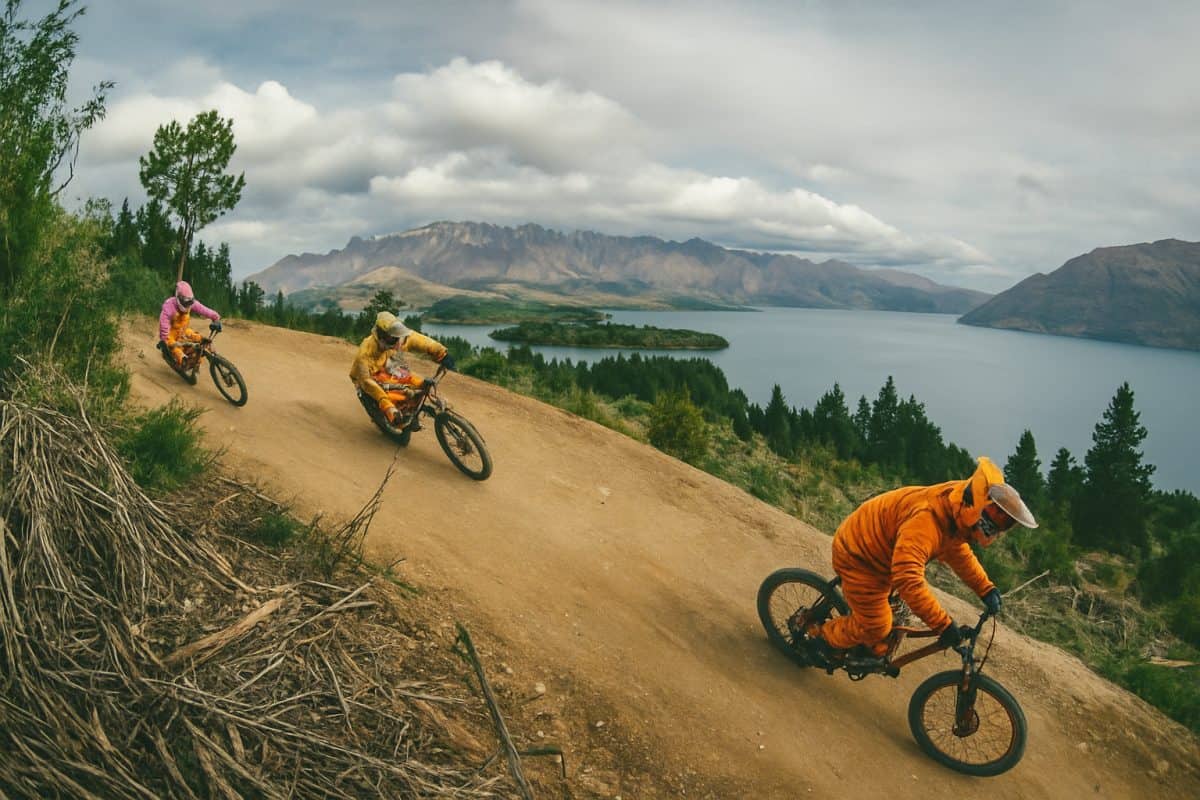
Queenstown does not ease you into steep terrain. The trails here drop off ridgelines and plunge through schist rock gardens with a directness that catches out riders used to more moderate gradients. Knowing how to handle the steep stuff is not optional — it is the entry fee for most of the best descents in the Wakatipu Basin.
Why Queenstown Steep Feels Different
The Gradient and What Sits on It
Plenty of trails around New Zealand have steep sections, but Queenstown steep comes with conditions attached. The gradients on trails like Rude Rock and the natural lines off Coronet Peak regularly hit 25 to 30 percent, sustained over hundreds of vertical metres rather than short pinch sections. That alone would be enough to test most riders. But the surface underneath makes it harder.
Schist rock, loose gravel, minimal topsoil, and exposed root systems mean the traction you rely on to control speed is unreliable. On a hardpack descent in Rotorua, you can brake hard and the tyres hold. On a steep Queenstown trail, the same input sends the rear wheel skating across loose rock. The combination of gradient and surface demands a different set of skills — not just bravery, but precise control of body position, braking, and line choice.
Riders who come from flatter trail networks often find the adjustment takes a few rides. The techniques are not complicated, but they need to be practised on real gradient before they become instinct.
Where the Steep Trails Are
The Coronet Peak trail network is the epicentre of steep riding in the Wakatipu Basin. Rude Rock is the trail most people think of first — a sustained descent over raw schist with rock gardens, scree chutes, and exposed ridgeline sections. But the surrounding trails are equally steep, including several unmarked natural lines that local riders have worn in over the years.
Fernhill offers a different character of steep. The trails drop through pine forest and native bush, with more soil cover and better traction than the exposed Coronet slopes. The gradient is still serious but the surface is more forgiving, which makes Fernhill a better place to build steep-riding confidence before tackling the alpine terrain.
Ben Lomond above the saddle has short sections of extreme steepness on loose alpine terrain. The upper trail is less a built mountain bike trail and more a walking track that happens to be rideable if you have the nerve. Below the saddle, the descent into town is steep but well formed. For pure sustained gradient on built trail, the Skyline access trails and Wynyard area round out the options.
Body Position for the Steep Stuff
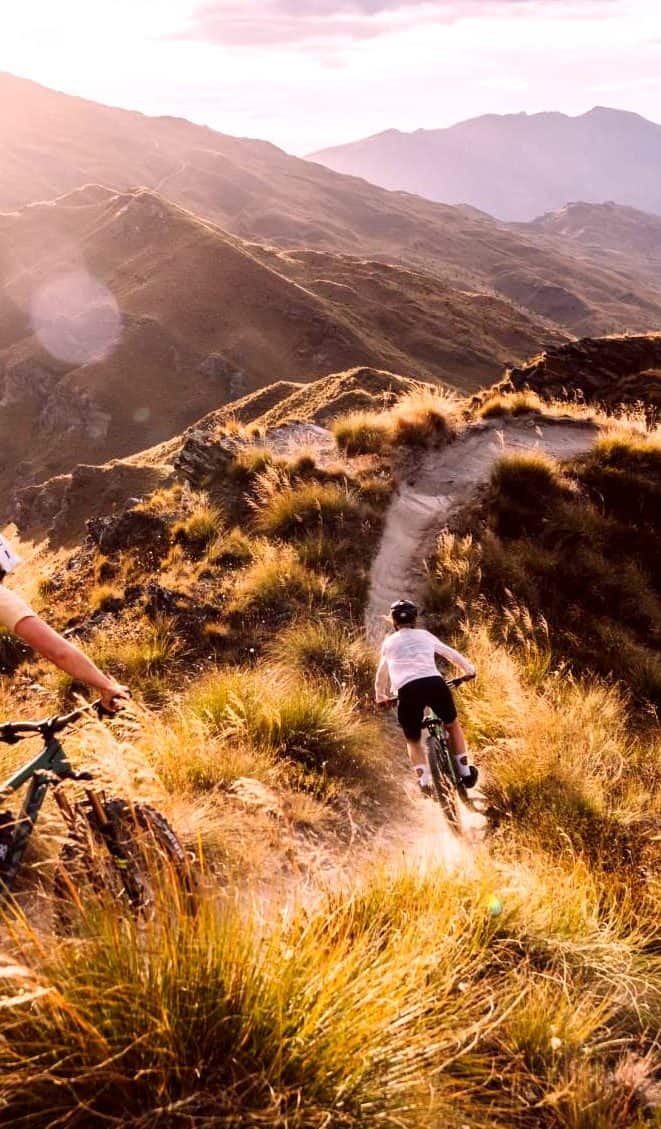
Getting Behind the Bike (Without Going Too Far)
The natural reaction when trail tilts downward is to shove your weight as far back as possible. On moderate slopes, this works well enough. On genuinely steep Queenstown trails, going too far back creates a new problem: you unweight the front wheel, which means it skips over obstacles instead of tracking through them, and your steering becomes vague precisely when you need it most.
The better position is hips shifted back with arms extended, but weight still pressing down through your feet and pedals rather than sitting on the saddle. Your dropper post should be all the way down. Think of your body as a hinge at the hips — your torso leans back to keep your centre of gravity behind the bottom bracket, but your legs are loaded and active underneath you.
A useful test: if your arms are straight and rigid, you have gone too far back. You should have a slight bend at the elbows even on steep ground, giving you room to absorb impacts and adjust your fore-aft balance as the gradient changes.
Arms, Legs, and Where Your Weight Lives
Steep descending is a full-body exercise, and where you carry your weight matters as much as where you position it. Start from the ground up. Heels dropped, pressing your weight into the pedals. Knees slightly bent and acting as suspension — not locked, not deeply flexed, just ready to absorb.
Your arms are your front suspension. Bent elbows let you soak up impacts that would otherwise transfer through your shoulders and into your core, throwing you off balance. Locked arms on steep ground are an invitation for the first rock or root to pitch you forward. Keep them soft, keep them ready.
The concept is heavy feet, light hands. Your weight should be driving down through the bottom bracket, not pulling on the handlebars. If your hands are aching or your forearms are pumped after a steep descent, you were gripping too hard and carrying too much weight through your arms. Shift that load to your legs. They are stronger, they absorb impacts better, and they keep your centre of gravity low where it needs to be on steep ground.
What to Do When It Gets Steeper Than Expected
Every rider has been there: you roll over a blind lip and the trail drops away steeper than you anticipated. The spike of adrenaline is instant, and what you do in the next two seconds determines how it goes.
Do not grab the brakes. On steep ground, a hard brake input shifts your weight forward and can send you over the handlebars. If your dropper post is not already down, it is too late now — make a mental note for next time. Instead, push your hips back, extend your arms, and let the bike roll underneath you. Focus on the exit — the point where the gradient eases — not on the steep section itself.
Breathing helps more than you would expect. Riders who freeze on unexpected steep hold their breath, which tightens every muscle and makes the body rigid. Rigid bodies do not absorb terrain well. Take a deliberate breath out as you drop in, and keep your jaw relaxed. It sounds trivial but it keeps your upper body loose enough to react.
The worst outcome is stopping mid-slope. Once you are on steep ground, momentum is your friend. A stopped bike on a 30-percent grade is very difficult to restart in a controlled way, and often leads to an awkward sideways dismount. Commit to rolling through. The Mountain Safety Council recommends riding with a partner on technical terrain for exactly these situations.
Braking on Steep Ground
One Finger, and Why It Matters
Modern disc brakes have more stopping power than you will ever need. The limiting factor on steep descents is not how hard you can brake but how precisely you can modulate that braking. This is why one-finger braking matters.
With one finger on the lever — your index finger — you have fine control over how much force you apply. Two or more fingers give you a bigger lever arm, which makes it easy to pull too hard and lock a wheel. Worse, multiple fingers on the brake lever mean fewer fingers wrapping the handlebar, and on steep technical ground you need that grip to hang on over rough sections.
Set your brake levers so you can reach them comfortably with one finger while maintaining a solid three-finger grip on the bar. Most riders position the lever clamp inboard so the index finger sits naturally on the lever tip where it has the best mechanical advantage. If you find yourself reaching or stretching, adjust the lever position until it feels natural. This is worth taking ten minutes in the car park to get right — ACC data shows hand and wrist injuries are among the most common mountain biking injuries in New Zealand — it changes how steep trails feel.
Front Brake vs Rear Brake on Gradient
On flat ground, braking force splits roughly evenly between front and rear. On steep descents, the physics shift. Weight moves forward as the gradient increases, which loads the front wheel and unloads the rear. The rear tyre, with less weight on it, locks up more easily and contributes less to slowing you down. The front brake becomes your primary speed controller.
This creates a tension. The front brake is the most effective tool on steep ground, but too much front brake lifts the rear wheel off the ground. On a steep enough slope, that is how you go over the bars. The practical approach is to use both brakes together, leading with the rear to scrub speed gradually and using the front for stronger braking when you need it.
If the rear wheel locks and skids, you have pulled too hard relative to the weight on it. Ease off slightly and let it roll. A locked rear wheel is sliding, not braking — it is not actually slowing you down, just wearing a flat spot on your tyre. The front wheel is the one you absolutely cannot lock. A front wheel skid on steep ground means you are going down. Keep the front brake inputs smooth and progressive, and always leave yourself a margin.
Brake Before the Steep, Not On It
The smartest braking on steep terrain happens before the steep section starts. When you can see a pitch change coming — a roll-over, a steepening where the trail drops away — set your speed before you tip in. Scrub speed on the flatter section where traction is better and your braking is more effective, then modulate through the steep with lighter brake inputs.
This is the opposite of how many riders approach steep trails. They roll in at full speed, hit the steep section, grab brakes, lose traction, lock wheels, and end up either sliding out of control or stopped awkwardly mid-slope. Setting your speed early avoids all of that.
Think of it as zone braking. The flat or moderate section before a steep pitch is your braking zone. The steep section itself is your modulation zone — you are controlling speed, not creating it from scratch. And any runout at the bottom is your recovery zone, where you can relax the brakes and let the bike breathe.
The more you ride steep Queenstown trails, the more automatic this becomes. You start reading the terrain two or three features ahead, adjusting speed before problems arrive rather than reacting to them.
Line Choice on Steep Trails
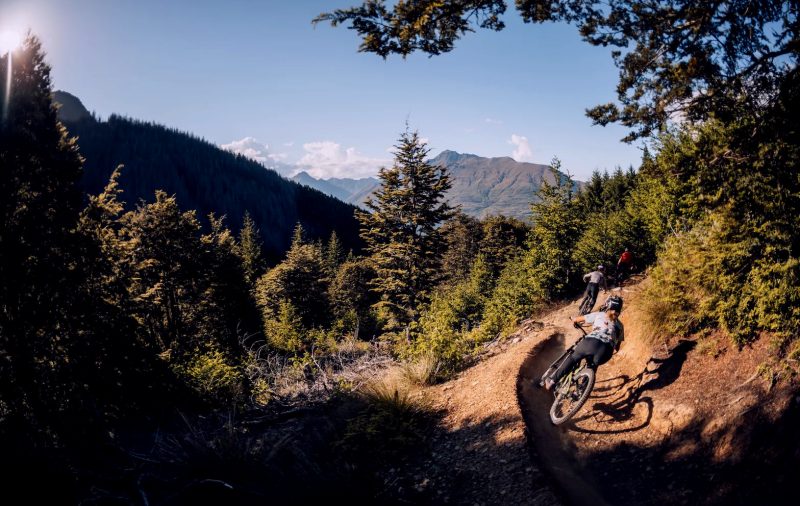
Reading Options at Speed
Steep trail compresses visually. Features that are well spaced on moderate gradient stack up on top of each other when the trail tilts, giving you less time to read and react. This means your eyes need to be further ahead than feels natural. Most riders look one to two metres in front of their wheel. On steep terrain, push that out to three or four metres minimum.
You are scanning for three things. First, traction zones — where is the surface that will grip? Dark embedded rock, compacted soil, root-free dirt. Second, runout — where does this section end, and is the exit clear? If there is a turn at the bottom of a steep pitch, you need to know about it before you drop in, not halfway down. Third, mandatory features — rocks, roots, or drops that you cannot avoid and need to plan your approach around.
On unfamiliar trails, the first run is always a reading exercise. Take it slower than you think you need to, map the trail mentally, and use the second run to push the pace. Queenstown trails reward familiarity, and most of the local riders who look smooth on steep ground have simply ridden those trails enough times to know what is coming.
Using Trail Width to Manage Gradient
This is the technique that transforms steep riding from survival to control: using trail width to change your effective gradient. By riding diagonally across the trail rather than straight down, you reduce the slope angle your tyres experience. It is the same principle that makes switchbacks climbable — you are trading distance for gradient.
On wider sections of Queenstown trails, particularly the open schist traverses on Coronet Peak, you can angle across the trail to halve the effective pitch. Approach the steep section on one side, arc across to the other, and exit at a gentler angle. Your speed stays manageable without heavy braking, and your tyres have better traction because the slope they are dealing with is less severe.
It does not work everywhere. Narrow singletrack gives you no room to angle. Dense trail-side vegetation blocks the diagonal. But where there is width — fire road steep, open alpine trail, wide bulldozed sections — diagonal lines are the most effective tool you have. Watch local riders on Coronet Peak and you will see it: they rarely descend straight down a steep face when they have the option to cross it.
Steep descending is not about fearlessness. It is about controlling the variables you can — body position, braking, line choice — so the gradient feels manageable rather than overwhelming. The Queenstown trails that seem terrifying on the first run become flowing and natural once these techniques are dialled. Give it a few sessions and the steep stops being the scary part of the ride.