
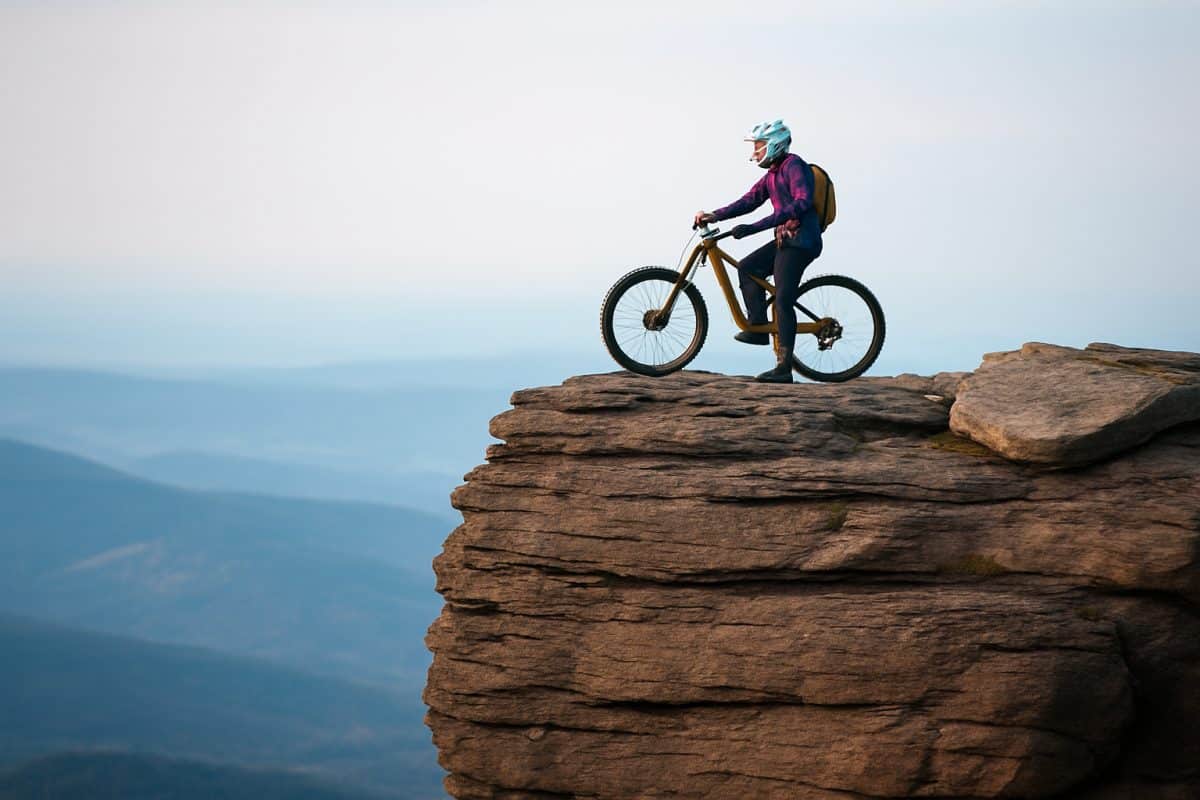
Every trail surface has its own personality, but schist is stranger than most. The layered rock that underpins nearly every Queenstown trail can feel bulletproof one day and treacherous the next, depending on nothing more than whether it rained last night. Riders who learn to read it gain an advantage that carries across the entire Wakatipu trail network.
What Schist Actually Is (and Why It Matters on a Bike)
The Rock Under Every Queenstown Trail
Spend any time on Queenstown trails and you will become intimately familiar with schist. It is the bedrock of Central Otago — a metamorphic rock formed under enormous pressure millions of years ago, then pushed to the surface and fractured by frost and sun into the layered, flakey slabs that define the region. Underfoot, it looks like stacked pages of a book, thin plates angled at odd pitches across the trail.
It is nothing like the greywacke you find in Wellington or the granite of the West Coast. Those rocks are solid, dense, and predictable. Schist is layered and directional. Its grip depends entirely on which way the layers face, how much loose material sits on top, and whether rain has been through recently. Riders from other parts of New Zealand often find the first few runs on schist disorienting — the surface does not behave the way rock is supposed to behave.
Understanding what is under your tyres matters here more than on any other surface in the country. The techniques that work on Rotorua clay or Christchurch loam will not save you on a dry schist slab.
Two Faces of the Same Rock
Here is the part that surprises most visiting riders: dry schist is the slippery condition, not wet. After a week of Central Otago sun, the surface layer breaks down into small, flat flakes. They sit on top of the bedrock like a scattering of coins on a table. Your tyres roll over them and they slide. The result is a surface that can feel, as one local put it, like riding on marbles.
Wet schist is the opposite. Rain washes the loose flakes away and exposes the raw bedrock underneath. That bedrock is rough, angular, and textured at a scale that rubber grips beautifully. After a good downpour, trails that were skating rinks the day before become some of the grippiest riding in the country. You can lean a bike over on wet schist bedrock with a confidence that would be suicidal on wet greywacke or wet clay.
This counterintuitive behaviour catches people out. They ride cautiously in the rain and aggressively in the sun, which is exactly backwards for Queenstown.
Where You Will Find It
Schist is everywhere above Queenstown, but the concentration varies. The Coronet Peak trail network is schist from top to bottom — every trail up there rides on the stuff, from the flow trails to the natural lines. Rude Rock is a masterclass in schist features, with angled slabs, loose chutes, and embedded bedrock all within a few hundred metres.
The Fernhill and Wynyard Creek trails sit on schist too, though the forest cover means more organic material mixed in with the rock. Lower down, some of the Gorge Road trails transition into compacted clay and gravel where schist gives way to river sediment. The Jardine Park pump track area is mostly dirt over schist — you only notice the rock when erosion exposes it.
Across the lake, the Ben Lomond trails ride schist at altitude, with the added complication of alpine exposure and wind-scoured surfaces. The Arrowtown trails offer a softer version — more soil cover, less raw rock — though schist still pokes through on the steeper sections of Tobins Track and the ridgeline trails.
Dry Schist: the Marble Problem
Why Your Tyres Slide on a Sunny Day
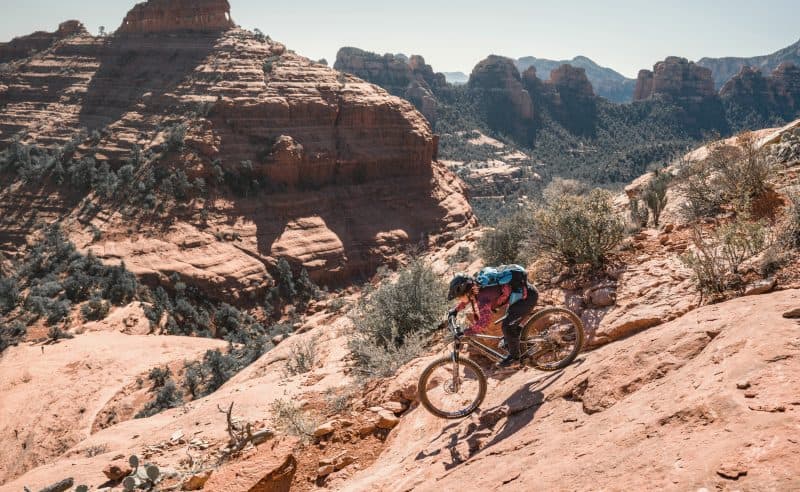
The sensation is distinctive and you learn to recognise it quickly. You are cornering on what looks like solid trail and the back wheel steps sideways without warning. Not a dramatic slide — more of a lateral shuffle that breaks your line and erodes your confidence. On steeper sections, the front wheel does it too, and that is when things get properly unsettling.
What is happening is mechanical. Loose schist flakes have almost no friction against each other. They are flat and smooth on their faces. When your tyre pushes against a flake, the flake slides on the flake beneath it rather than gripping. Tread pattern makes surprisingly little difference — aggressive knobs just push the flakes around rather than biting through to bedrock.
The worst conditions are mid-summer on south-facing trails that do not get enough sun to bake the loose material into a crust, but get enough traffic to break new flakes off the bedrock. January and February on Coronet Peak can be genuinely treacherous in dry conditions. Riders who sessioned the same trail a week after rain wonder what changed.
Keeping Traction When There Is None
The first rule of dry schist is smoothness. Every input to the bike needs to be gradual. Brake progressively, not suddenly. Steer in arcs, not sharp corrections. Stand up and weight your feet rather than sitting and driving through the handlebars. Your centre of gravity should be low and centred, not forward and aggressive.
Momentum helps more than you might expect. A rolling tyre has a better chance of finding bedrock through the loose stuff than a tyre that is constantly being slowed and restarted. This goes against every instinct on technical terrain — your brain says slow down, but the bike actually tracks better with a bit of speed carrying it.
Lower tyre pressure gives you more rubber contact with the ground, which increases your odds of touching something that grips. Drop five to eight PSI from what you would run on hardpack and see how it feels. The trade-off is sidewall exposure, but we will cover that later. The other technique is line choice: look for the darker rock, the stuff that has been polished by tyres and weather into a smoother surface. That is usually embedded bedrock, not loose plate.
Wet Schist: Grip You Did Not Expect
The Surface That Improves in Rain
It sounds wrong, but the best day to ride technical schist trails is the day after solid rain. Not during the rain — nobody enjoys climbing in a downpour — but once the weather clears and the rock has drained. What you find is a surface that has been washed clean. The loose flakes have been flushed into gutters and low points. The exposed bedrock is wet, textured, and remarkably grippy.
The reason is the structure of the rock itself. Schist bedrock is not smooth. It fractures along planes that leave sharp, angular edges at a microscopic level. Wet rubber on that texture creates excellent traction. It is the same principle that makes a rough concrete footpath grippy in the rain while a polished tile floor becomes a hazard.
Other rock types in New Zealand do not behave this way. Greywacke in the Rimutaka Range becomes treacherous when wet. Volcanic rock around Rotorua gets a slimy biofilm. Granite is unpredictable. Schist is the rare rock where moisture is your ally rather than your enemy, and once you internalise that, you ride Queenstown differently.
Trusting the Grip (and Where Not To)
The temptation for visiting riders is to back off every time they see wet rock. On most trails around New Zealand, that instinct is correct. On Queenstown schist, it costs you. Flow lines that work beautifully in the dry become choppy and hesitant if you are constantly checking your speed on wet rock sections that are actually gripping perfectly well.
The trick is to commit. Lean the bike, trust the surface, and keep your weight centred. The grip is there. You will feel it after one or two corners — the tyres bite and hold in a way that feels almost impossible on wet rock. Once you feel it, you stop braking into every rock slab and your riding transforms.
The exceptions matter though. Lichen-covered schist — the greenish-grey patches you see on rock that does not get much traffic — is slippery wet or dry. Stay off it. Clay-capped schist, where a thin layer of soil sits on top of the rock, becomes greasy in rain and offers none of the bedrock grip underneath. These patches are common on trail edges and in shaded gullies. Learn to spot them and keep your wheels on clean rock.
Reading Schist Features on the Trail
Angled Slabs and Off-Camber Steps
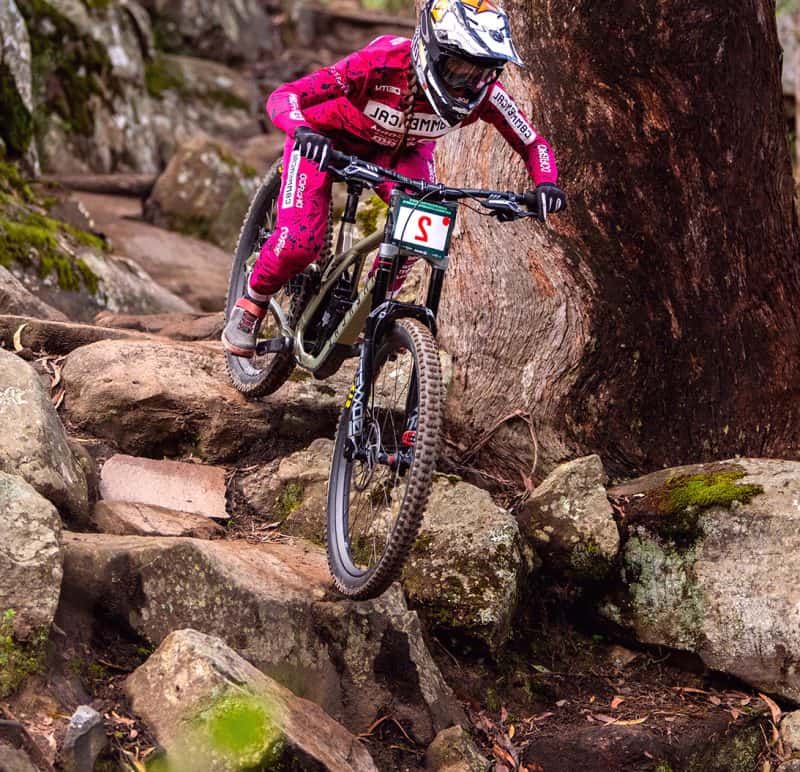
Schist fractures in planes, which means trail features often sit at odd angles to the direction of travel. You will come across slab sections tilted ten or twenty degrees to one side, with your tyres trying to track across a surface that wants to send you sideways. These are not obstacles to ride over — they are surfaces to ride along.
The key is body position. Drop your outside foot, press your weight down through the bottom bracket, and let the bike track across the angle. Do not try to steer against the tilt. If the slab angles left, your bike will drift left — let it, and correct gently as you exit. Fighting the angle with sharp steering inputs is how you lose the front wheel on an off-camber slab.
On stepped sections where one slab sits higher than the next, the approach is different. Unweight the front wheel as it drops off each step, let the rear follow, and absorb the impact with your legs rather than your arms. Rigid body position on schist steps means every impact transfers straight to your hands and throws your line off.
Loose Scree Chutes
The chutes are where intermediate riders get caught out most often. A loose scree chute is a gully filled with broken schist fragments — anything from gravel-sized chips to palm-sized plates — and it behaves more like riding through deep sand than riding over rock. Rear wheel traction is minimal. The front wheel deflects off larger pieces. Your line wanders.
The technique is counterintuitive: stay off the brakes. Braking in a loose chute digs the front wheel in and pushes loose material into a pile that stops you dead. Instead, enter with enough speed to carry through, keep your weight back slightly to unload the front wheel, and look past the chute to where you want to exit. Your eyes should be on the solid ground beyond, not on the loose rock under your wheels.
Short chutes — two or three metres — are manageable at almost any speed. Longer chutes require commitment. You need to accept that the bike will move around underneath you and focus on keeping your body centred and relaxed. Tension is the enemy. If you stiffen up, you cannot absorb the deflections, and the bike bucks you off line.
Embedded Slabs vs Loose Plate
At speed, you need to read rock quickly, and the most important distinction on Queenstown trails is whether a slab is part of the bedrock or a loose plate sitting on top. Getting it wrong means committing your weight to a surface that shifts under you.
Colour is the first clue. Embedded bedrock is usually darker, sometimes with a slight polish from tyre traffic and weather. It sits flush with the surrounding trail surface. Loose plates are lighter in colour — more grey, less brown — and often sit at a slightly different angle to the embedded rock around them. They may have visible edges where they overlap other pieces.
Context helps too. Rock in the middle of a well-worn trail line is more likely to be embedded. Rock at the trail edges, in gutters, or below natural rock faces is more likely to be loose debris that has fallen or been washed into position. After rain, the distinction is easier — embedded rock dries at the same rate as the surrounding trail, while loose plates often trap moisture underneath and stay wet longer around their edges. Scan ahead and plan your wheel placement around the darker, flatter, flush sections.
Tyre Setup and Pressure for Schist
What Works (and What Shreds)
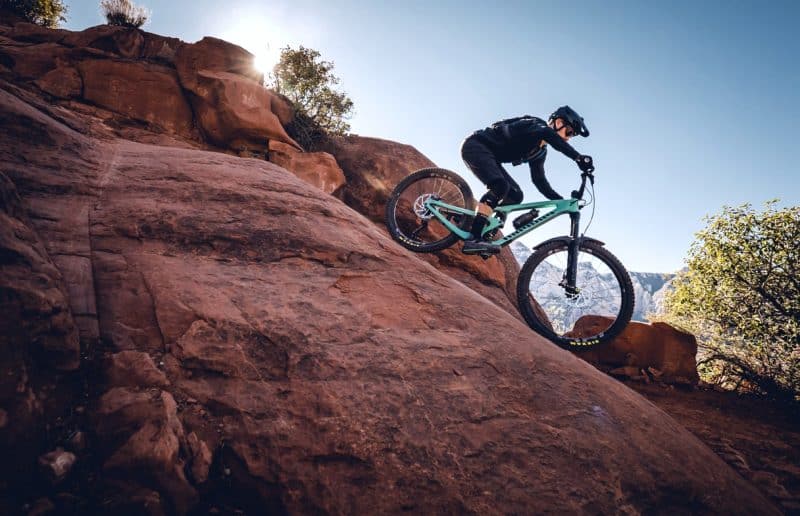
Schist eats tyres. The sharp, angular edges of broken schist act like tiny knives on soft rubber compounds and thin sidewalls. A rear tyre that lasts six months in Rotorua might last three in Queenstown. Soft compounds grip better on loose rock, but the trade-off in tyre life is significant.
The practical choice for most Queenstown riders is a dual-compound tyre with a harder centre and softer edges, paired with a reinforced casing. EXO+ or similar mid-weight casings handle the sharp edges without the weight penalty of full downhill casings. For the rear, some riders run a heavier casing than the front — the rear cops more sharp-edge abuse on steep descents.
Tubeless is not optional here. Running tubes on schist trails means pinch flats on every ride. The sharp edges do not just puncture — they slice. A tubeless setup with good sealant handles the small cuts. Carry a tyre plug kit rather than a spare tube — the Mountain Safety Council recommends always having a basic repair kit when riding backcountry trails. The cuts schist makes are clean and usually seal well with a plug.
Pressure: Lower Than You Think
Most Queenstown locals run lower pressures than riders in other parts of the country, and it is not for comfort. Lower pressure means the tyre conforms more to the rock surface, increasing the contact patch and improving the odds of gripping bedrock through the loose stuff. The difference between 28 PSI and 23 PSI on a dry schist slab is night and day.
Practical ranges depend on rider weight and tyre width. For a 75 kg rider on a 2.4-inch tyre, somewhere between 20 and 24 PSI rear and 18 to 22 PSI front is a reasonable starting point. Heavier riders need more. Lighter riders can go lower. The goal is to run as low as you can without the tyre squirming in corners or bottoming out on the rim through rock strikes.
The trade-off is real though. Lower pressure exposes more sidewall, and schist sidewall cuts are the most common mechanical failure on Queenstown trails. It is a balance — enough pressure to protect the casing, low enough to get the grip. Most riders find their number after a few rides and stick with it. If you are slicing sidewalls, come up two or three PSI and accept slightly less traction.
Schist rewards patience and observation more than aggression. The riders who handle it best are not the fastest or the fittest — they are the ones who have spent enough time on the rock to feel the difference between a slab that grips and a plate that slides. Ride it in the wet, ride it in the dry, and eventually the rock stops being an obstacle and starts being the reason Queenstown trails feel like nowhere else.