
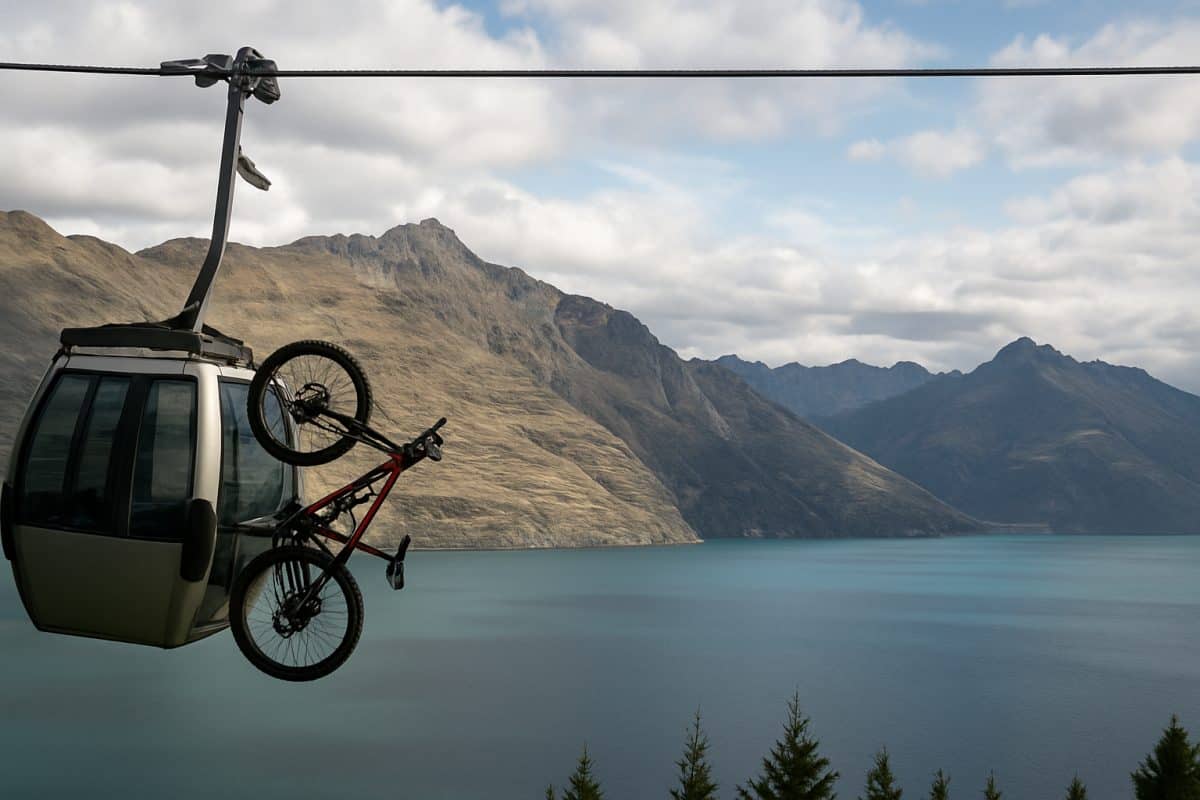
The standard mountain biking packing list applies in Queenstown — helmet, gloves, tools, water. But the local conditions add items that most packing guides do not mention. Wind layers for ridgeline exposure, UV protection that matches the southern hemisphere sun, and consumable spares for terrain that grinds through brake pads and tyres faster than visitors expect. This is the list we wish someone had given us before our first trip here.
The Basics Done Properly
Helmet, Gloves, and Protection
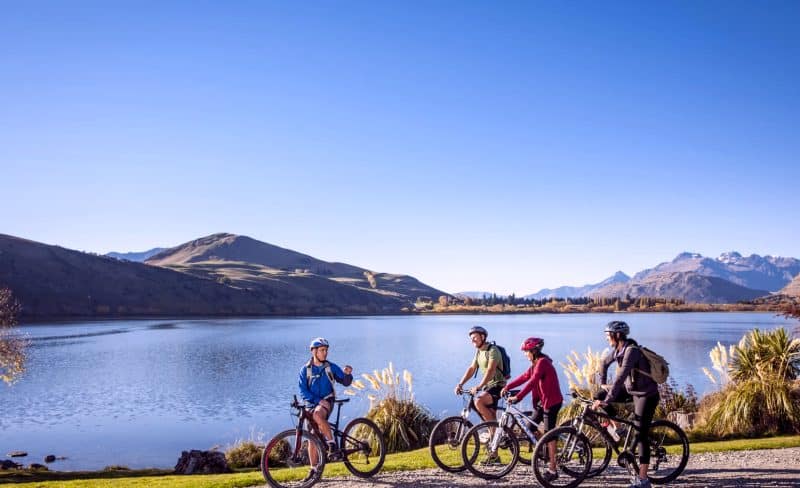
A half-shell helmet is the standard for most Queenstown trail riding. It covers the important parts, ventilates well on climbs, and does not cook your head on a warm January afternoon. If you are planning to ride the bike parks or shuttle descents at Coronet Peak, bring a full-face or a convertible helmet with a removable chin bar. The terrain on those descents is steep, loose, and rocky — the kind where a face-first impact is a real possibility, not a theoretical one.
Gloves are personal preference, but the terrain here makes a strong case for full-finger. Schist rock leaves nasty grazes, and a low-speed tip-over on loose rock will sand the skin off your knuckles faster than you would think. Knee pads are worth the pack space for the same reason. A fall on groomed dirt is one thing; a fall on sharp schist is stitches territory. Lightweight trail pads that you can pedal in are fine — you do not need downhill armour unless you are riding downhill lines.
Riding Kit for Four Seasons in a Day
Queenstown can serve up frost at dawn, blazing sun by midday, and a cold southerly change by three in the afternoon. We have ridden in all four seasons in a single day more than once, and the riders who suffer are always the ones wearing a single layer with no backup.
The system that works is straightforward. A moisture-wicking base layer goes on first — merino or synthetic, never cotton. Cotton holds sweat, takes forever to dry, and turns cold the moment you stop pedalling. Over that, a light insulating layer — a thin fleece or merino mid-layer that you can stuff in your pack when you warm up. On top, a packable wind shell that weighs under 200 grams and fits in a jersey pocket. This three-layer approach handles everything from cool morning starts to exposed ridgeline winds without overheating on the climbs.
Riding shorts and jersey are personal choice, but bring options for temperature. A pair of thermal tights or leg warmers can turn a miserable May morning into a comfortable one.
The Things That Get Left Behind
Wind Layers for Ridgeline Exposure
This is the item that makes the biggest difference and gets forgotten the most. A packable wind jacket that weighs 150 to 200 grams and stuffs down to the size of your fist is worth more than half the other gear in your pack.
The problem is specific to Queenstown geography. The nor-wester — a warm, dry wind that blows from the northwest — accelerates through the mountain gaps and hits exposed ridgelines with wind chill that drops the apparent temperature by ten to fifteen degrees. You can be sweating on a sheltered climb and shivering on the ridgeline five minutes later. Trails like Rude Rock, the Ben Lomond saddle, and the upper sections of Coronet Peak are fully exposed.
Without a wind layer, you have two options: suffer through the exposed section with your teeth chattering, or cut the ride short. Neither is necessary if you packed a jacket that weighs less than a banana. Get one with a hood — wind in your ears on a ridgeline is distracting when you need to concentrate on the trail.
UV Protection at Southern Latitudes
New Zealand sits under a thinner section of the ozone layer, particularly in spring and summer. UV radiation at these latitudes is measurably stronger than at equivalent latitudes in the northern hemisphere. Visitors from Europe or North America consistently underestimate how quickly they will burn, especially on clear days at altitude.
Sunscreen rated SPF50 is the baseline, applied before you ride and reapplied if you stop. The backs of your hands, your neck, and any exposed skin between your gloves and sleeves are the areas most riders miss. Sweat-resistant formulas are essential — standard sunscreen runs into your eyes within twenty minutes of climbing.
Sunglasses with proper UV protection are not optional. Clear or light-tinted lenses work for overcast days and shaded trails; darker lenses for open ridgelines in direct sun. UV-protective arm sleeves are lighter and cooler than a long-sleeve jersey and give consistent coverage without reapplication. A buff or neck gaiter protects the back of your neck, which takes a hammering on south-facing climbs where the sun is behind you all day.
Spare Brake Pads and a Plug Kit
We mentioned spare brake pads in the gear article, but it bears repeating in a packing context: bring spare brake pads. Queenstown schist eats them. A week of riding on steep, rocky descents will go through a set of pads that would last a month anywhere else. If your bike shop does not stock your specific pad, order them before you travel.
A tubeless plug kit is the other essential that visitors often leave out. The sharp schist causes cuts in tyres that sealant cannot always handle. A plug kit — the kind with sticky worms and a reaming tool — weighs almost nothing and takes thirty seconds to use. Carry one on every ride, along with a CO2 inflator or mini pump as backup. A spare inner tube is still worth packing even on a tubeless setup, because some cuts are too large for plugs.
Beyond that, the trail spares kit should include: a multi-tool with chain breaker, a quick link for your chain, a spare derailleur hanger (these snap on rocky terrain), zip ties, and electrical tape. All of it fits in a space smaller than a water bottle and covers the failures that otherwise end a ride.
Water and Food: More Than You Think
Hydration in Dry Mountain Air
Central Otago is one of the driest regions in New Zealand, and the Wakatipu Basin sits right in it. Annual rainfall is low, the air is dry, and altitude makes the effect worse. Riders used to humid coastal conditions consistently underestimate how much water they need here.
For a two to three hour ride, carry at least 1.5 litres. For longer rides or hot days, two litres minimum. One bottle cage is not enough for most Queenstown rides — a hydration pack or a frame with two bottle mounts is the practical solution. There are almost no water refill points on the trails themselves. What you carry is what you have.
Electrolyte tabs or powder are worth adding to your water, especially in summer. The combination of dry air, altitude, and sustained effort means you lose electrolytes faster than the effort level alone would suggest. Plain water will keep you hydrated but will not replace the sodium and potassium you are sweating out. A bonk from electrolyte depletion feels different from a food bonk — cramping, dizziness, and a general sense that your body has stopped cooperating.
Trail Food That Actually Works
Queenstown rides have a habit of being longer and harder than the trail map suggests. Elevation profiles that look manageable on screen turn into sustained climbs that empty your legs, and the temptation to do one more run at the bike park extends the day beyond what you planned. Packing enough food is not fussy — it is practical.
For rides up to two hours, a couple of energy bars or gels are sufficient. Beyond that, bring real food. Sandwiches, bananas, muesli bars, and dried fruit all travel well in a pack and deliver sustained energy rather than the spike-and-crash of pure sugar. A small bag of salted nuts is surprisingly effective at keeping energy levels stable and replacing sodium.
Plan to eat before you are hungry. Once you are bonking on a climb in the Queenstown heat, food takes twenty to thirty minutes to make any difference, and those are twenty miserable minutes. Eating a small amount every forty-five minutes to an hour keeps your energy level constant and your decision-making sharp — which matters when you are descending technical terrain at the end of a long ride.
Choosing and Loading Your Pack
Pack Size and Fit for Mountain Biking
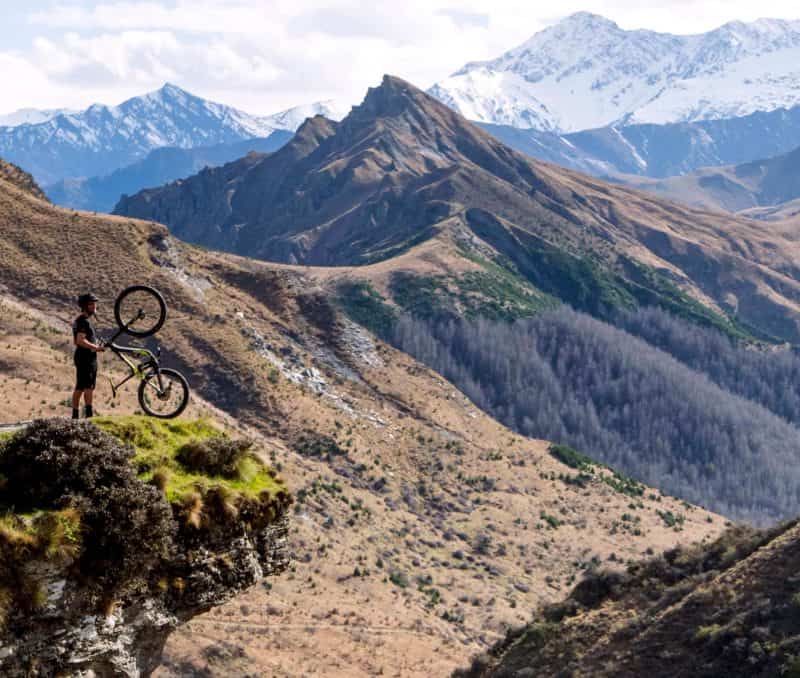
The amount of gear you need to carry on a Queenstown ride — water, food, wind layer, tools, spare pads, plug kit — means a hydration pack is the most practical option for most riders. An eight to twelve litre pack carries everything comfortably and distributes weight across your back and shoulders rather than concentrating it at your hips.
Hip packs have become popular, and they work for shorter rides where you are carrying less. But for a full day ride with two litres of water, food, spares, and a wind layer, most hip packs are too small or too heavy on your waist to be comfortable on technical descents. They also shift more on rough terrain.
Fit matters. A pack that bounces or shifts when you hit rough ground becomes a distraction and a hazard. The waist strap and sternum strap should hold the pack snug to your body without restricting your breathing on climbs. Try the pack loaded before you ride — an empty pack fits differently from one carrying two kilograms of water and gear. Magnetic hose clips keep the drinking tube accessible without it flapping around on descents.
How to Pack It So Nothing Rattles
Nothing ruins concentration on a rocky descent like the sound of tools rattling in your pack. Everything hard — multi-tool, CO2 cartridges, tyre levers — should be wrapped or padded so it does not clank or shift. A small tool roll or zip-lock bag with a scrap of foam does the job.
Loading order matters. Items you might need on the trail — plug kit, pump, wind jacket — go in accessible pockets or near the top of the main compartment. Items you will only need in an emergency — spare tube, derailleur hanger — go deeper. Water sits in the bladder against your back (lowest and most central for stability) or in bottles on the frame.
Food goes where you can reach it while riding or with a quick stop. A chest pocket or hip belt pocket keeps bars and gels within reach. Heavy items sit low and close to your back. Light bulky items like the wind jacket sit higher. The goal is a pack that feels like an extension of your body, not a pendulum swinging behind you every time you weight a corner.
Getting Your Bike to Queenstown
Flying with a Bike to Queenstown
Queenstown Airport is compact, which is both a blessing and a complication for bike travellers. The good news is that the terminal is small and baggage claim is fast — your bike bag usually appears within minutes of landing. The complication is that oversized baggage handling can be inconsistent, and the airport is busy in peak season.
For domestic flights within New Zealand, Air New Zealand accepts bikes as checked baggage with a surcharge. The bike needs to be in a bike bag or box with the pedals removed, handlebars turned, and wheels off. Hard cases offer better protection but are heavy and expensive. Soft bags are lighter and easier to store in Queenstown accommodation but offer less impact protection. Either way, deflate your tyres slightly, remove your derailleur or tape it to the chainstay, and pad the frame with towels or foam.
On arrival, reassemble in the airport carpark — there is space, and you will not be the first person doing it. Check your derailleur alignment before you ride. The most common post-flight issue is a bent derailleur hanger from baggage handling, and riding with a bent hanger leads to a snapped derailleur on the first rough descent.
Renting vs Bringing Your Own
The rental market in Queenstown is solid. Several shops — Outside Sports, Vertigo Bikes, and others — offer quality mountain bikes for daily or multi-day hire. Rental fleets have improved significantly in recent years, and you can generally get a well-maintained trail or enduro bike from a reputable shop.
Renting makes sense if you are visiting for two or three days and riding is one activity among several. The cost of a rental for a few days is less than the airline surcharge and hassle of flying your own bike. You also get a bike set up for the local terrain, often with appropriate tyres and brake pads already fitted.
Bringing your own bike makes sense if you are riding for a week or more, if you are particular about your setup, or if you are coming from elsewhere in New Zealand by car. You know your bike, you trust it, and you have it set up exactly how you want it. The time spent adjusting to an unfamiliar rental bike on unfamiliar trails is time spent riding with less confidence. If you drive, bike racks on rental cars are available but book ahead in peak season — they sell out.
Packing for Queenstown is not about bringing everything. It is about bringing the right things for terrain and conditions that differ from most riding destinations. The wind layer, the sunscreen, the spare brake pads — these are the items that separate a great trip from one spent wishing you had prepared better. Pack for the conditions, not for the brochure, and the riding will take care of itself.