
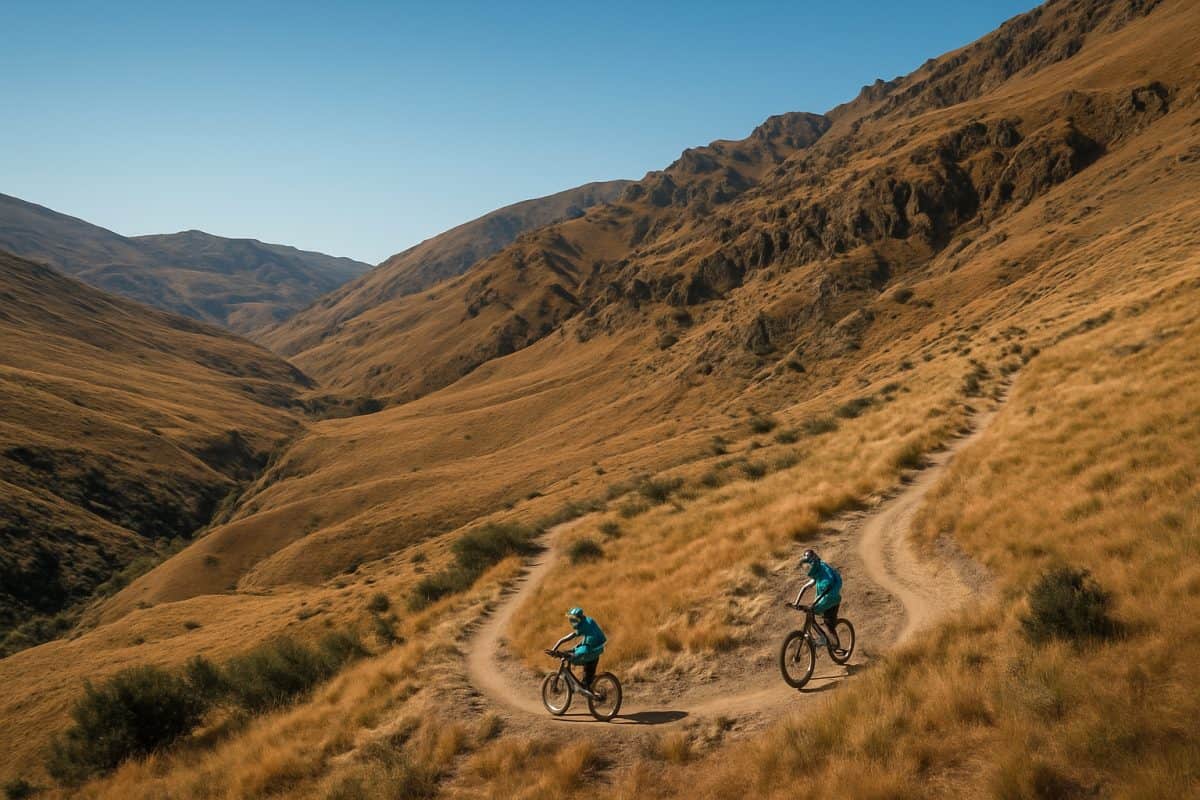
Every trail leaves a mark on your bike, but Queenstown trails leave more than most. The schist rock that makes the riding here so distinctive also grinds through brake pads, tyres, and drivetrain components at a rate that catches visitors off guard. This is not a spec-sheet gear guide — it is what we have learned from years of replacing parts, adjusting setups, and watching riders arrive with the wrong equipment for the terrain.
Schist: the Rock That Defines Your Gear Choices
What Schist Does to Brake Pads
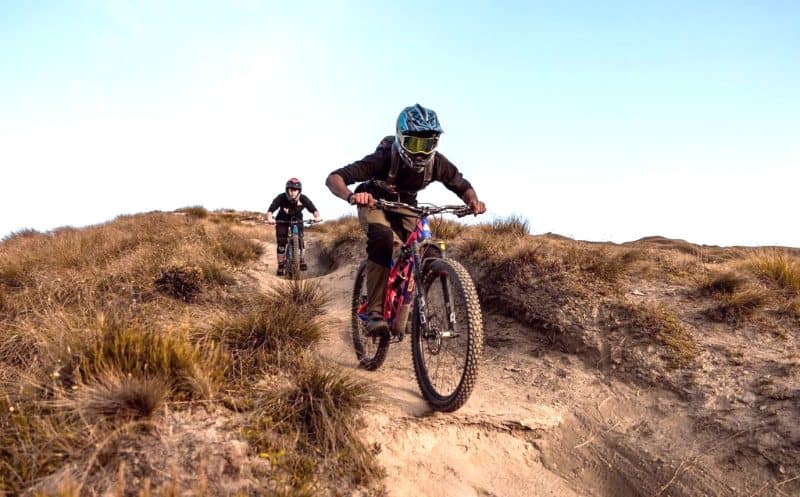
Queenstown trails are built on schist — a metamorphic rock that fractures into flat, sharp-edged plates. It is the defining feature of riding here, and the single biggest factor in how fast your gear wears out. Brake pads take the worst of it. The constant braking on steep, rocky descents is bad enough, but schist dust acts like a grinding compound between pad and rotor.
Metallic pads are the only sensible choice for regular Queenstown riding. Organic pads might last a few rides before they are down to the backing plate. Metallic compound will give you three to four times the life, better heat management on long descents, and more consistent power when things get hot. The trade-off is more noise and slightly less initial bite in wet conditions, but that is a trade worth making. Expect to replace pads every two to four weeks if you are riding three or four times a week. Visitors on a week-long trip should bring a spare set — not as a precaution, but as a near-certainty.
Tyre Compound and the Grip Equation
Tyre rubber is the other consumable that Queenstown chews through. The sharp edges of schist act like tiny knives on your tread compound, and how quickly your tyres wear depends on what rubber you are running. Soft compound tyres — the kind rated for maximum grip — will give you outstanding traction on loose rock, but you might get thirty rides before the knobs are rounded and the grip is gone. Hard compound lasts longer but slides on the loose, dry schist that covers so many trails here.
Most local riders have settled on dual-compound tyres as the practical answer. A softer rubber on the shoulder knobs for cornering grip, harder rubber on the centre tread for durability and rolling speed. Maxxis MaxxTerra, Schwalbe Addix SpeedGrip, or similar mid-range compounds hit the sweet spot for this terrain. Run a grippier compound on the front where you need the traction and a harder compound on the rear where the wear is heaviest. It is a compromise, but it is the right one for terrain that punishes both extremes.
Chain Wear and Drivetrain Grit
That fine grey dust you wash off your bike after every ride is not just dirt — it is powdered schist, and it is remarkably abrasive. It works into chain links, cassette teeth, jockey wheels, and derailleur pivots with the persistence of sand in a beach house. Left unchecked, it grinds down metal surfaces and shortens the life of your drivetrain significantly.
A chain that lasts 2000 kilometres in less hostile conditions might stretch beyond its service limit in 800 to 1000 kilometres of Queenstown riding. That accelerated wear flows through to the cassette and chainring. The practical response is frequent cleaning and the right lubricant. After every ride, wipe down the chain and re-lube. Use a dry or wax-based lubricant in summer — wet lube attracts the schist dust and turns it into grinding paste. In winter or after rain, a wet lube is necessary, but clean it off and re-apply more frequently. A chain checker tool is worth carrying in your pack. When it reads 0.5 percent wear, replace the chain before it takes the cassette with it.
Suspension Settings for Steep and Loose
Sag and Rebound on Rocky Descents
The standard starting point for suspension sag is around 25 to 30 percent of travel, but on Queenstown trails you want to lean toward the higher end of that range. More sag means the wheel tracks better over the repeated rock strikes and small impacts that define the riding here. A bike set up stiff and high in its travel will deflect off rocks rather than absorbing them, and on steep loose terrain that deflection means lost traction.
Rebound damping needs attention too. Most riders arriving from smoother trails will have their rebound set too fast for the terrain here. When the wheel hits a rock and rebounds quickly, it bounces off the surface rather than settling back into contact. Slow the rebound a click or two from your normal setting and pay attention to how the bike tracks through rock gardens. You want the suspension to recover quickly enough that it is ready for the next impact, but not so fast that it is pinging the wheel off the ground. The test is simple: ride a rocky section and feel whether the bike is tracking or skipping. Adjust until it tracks.
Compression Damping: When to Open It Up
Queenstown trails are rough. The constant small impacts from schist rocks and root-covered surfaces mean your compression damping setup matters more here than on smooth, groomed trails. For the high-speed compression circuit — the one that controls how the suspension responds to sharp impacts — most riders will benefit from running it more open than their normal setting. This lets the suspension absorb the chatter rather than transmitting it to your hands and feet.
Low-speed compression is the one that controls how the bike moves over larger, slower inputs like brake dive and body movement. Keep this firmer to prevent the bike wallowing on steep descents when you are on the brakes. The combination of open high-speed and firmer low-speed gives you a bike that absorbs trail chatter but still feels planted under braking. As for the climb switch — forget it on most Queenstown trails. The terrain is rough enough that even on the climbs, you want active suspension. The only exception is long fire road climbs where the surface is smooth and the gradient is constant.
Travel: How Much Is Enough
For the full range of Queenstown riding, 130mm to 160mm of travel covers nearly everything. The shorter end is fine for trails like Wynyard, the Fernhill tracks, and the gentler singletrack around Arrowtown. But if you are heading to Coronet Peak, Rude Rock, or the steeper lines on Ben Lomond, you will want closer to 150mm or more.
If you are bringing one bike for a Queenstown trip, a trail bike with 140mm to 150mm of travel is the best all-rounder. It climbs well enough to handle the pedal-access trails and descends confidently on the steeper, rougher lines. An enduro bike with 160mm or more is overkill for half the trails and perfect for the other half. A cross-country bike with 100mm to 120mm will feel overwhelmed on anything steep and rocky. The terrain is not forgiving of under-biking — the consequences of running out of travel on a steep, loose descent are immediate and unpleasant. If in doubt, err on the side of more travel. You can always pedal a slightly heavier bike uphill, but you cannot add suspension at the top of a descent.
Tyre Pressure and Rim Protection
Running Pressures on Sharp Rock
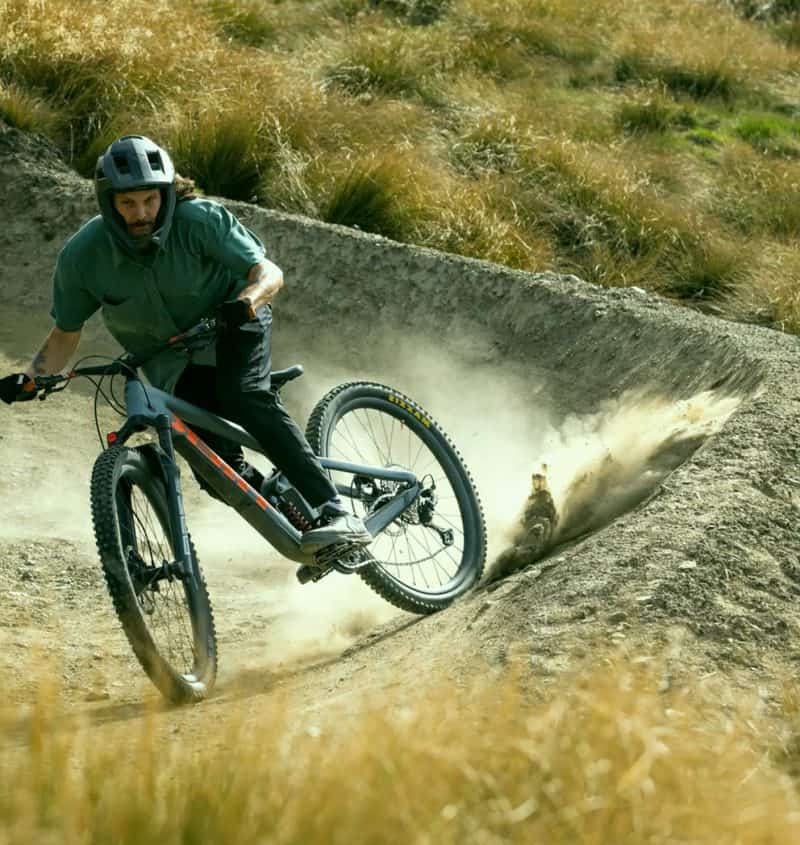
Tyre pressure on sharp rock is a negotiation between grip and survival. Run too low and you will pinch-flat or dent a rim on the first rock garden. Run too high and you will bounce off everything and lose traction on the loose surfaces that make up half the trails here.
For tubeless setups on Queenstown schist, most riders in the 70 to 85 kilogram range land somewhere between 22 and 28 PSI, with the front a couple of PSI lower than the rear. Heavier riders push that up a few PSI; lighter riders can drop a touch lower. The specific number depends on your tyre volume, rim width, and riding style, but the principle is the same: run the lowest pressure you can get away with without feeling the rim on sharp impacts.
Tubeless sealant is not optional here. The sharp schist causes small cuts and punctures that sealant handles without you even noticing. Top up your sealant every two to three weeks in summer — the dry air and heat dry it out faster than you expect. Carry a tubeless plug kit on every ride. The cuts from schist are often too large for sealant alone, and a plug will get you home where sealant will not.
Rim Inserts and Tyre Liners: Worth It Here
Tyre inserts have become increasingly popular among Queenstown locals, and the terrain makes a strong case for them. Products like CushCore or Tannus Tubeless add a foam insert inside the tyre that protects the rim from direct impacts and provides a degree of run-flat capability if you do puncture beyond what sealant can handle.
The case for them is straightforward: Queenstown schist dents rims. A solid hit on a sharp rock at speed can put a crease in an aluminium rim that makes it untrue, or crack a carbon rim entirely. Rim replacements are expensive and inconvenient, especially mid-trip. Inserts reduce that risk significantly. They also let you run slightly lower pressures for better grip, because the foam takes the edge off bottom-out impacts.
The case against is weight and hassle. Inserts add 200 to 250 grams per wheel, and fitting them requires more effort than a standard tubeless setup. Fixing a flat on the trail with an insert fitted is more involved too. For a visitor on a week-long trip, inserts are probably unnecessary if you run sensible pressures and carry plugs. For anyone riding here regularly, the rim protection alone pays for the investment within a season. Check with local shops like Outside Sports for fitting advice specific to your wheel and tyre combination.
The Small Stuff That Makes the Difference
Grips and Gloves for Long Descents
Queenstown descents are long. Not bike-park long — proper mountain long, where you are on the brakes for twenty to forty minutes at a stretch. Grip fatigue is the thing that eventually limits most riders, and your grip and glove choices have a direct effect on how long you can ride before your forearms give up.
Thicker, softer grips reduce vibration at the cost of less precise bar feel. On rough, rocky trails where precision matters less than endurance, that trade-off works. Lock-on grips with a larger diameter — 32mm or 33mm — spread the load across a wider area of your palm and reduce the squeeze pressure needed to hold on. Some riders add a thin layer of grip tape underneath for extra cushioning.
Gloves matter too. Full-finger gloves with minimal padding let you feel the brake lever and shifter, but on long descents your hands pay for it. Gloves with gel or foam padding in the palm absorb vibration and delay fatigue. The fit should be snug without restriction — a glove that bunches up under your grip creates pressure points that become painful after an hour. Bring two pairs if you are riding multiple days. Damp gloves from yesterday are miserable, and Queenstown mornings are often damp enough that gloves do not dry overnight.
Dropper Posts Are Not Optional
If you are riding Queenstown trails without a dropper post, you are making every descent harder than it needs to be. The terrain here demands constant transitions between pedalling and descending, often within the same trail. A fixed saddle at climbing height puts you too high for steep descents, and a fixed saddle at descending height makes every climb a grind.
A dropper with at least 125mm of drop is the minimum to be useful. For riders over about 175cm tall, 150mm or more is better. The steep gradients on trails like Rude Rock, the Coronet Peak descent, and the Skyline Bike Park lines need the saddle completely out of the way — your body weight needs to be low and behind the rear axle, and a saddle poking you in the backside prevents that. The dropper should be reliable and fast-acting. A post that sticks, creeps, or has a slow return is a liability on trails where you need to transition quickly. Service it before a Queenstown trip, and carry a spare cable or hydraulic bleed kit if yours has a history of playing up.
Post-Ride Maintenance That Saves Money
Ten minutes of cleaning after every ride extends the life of your components by months. It is not glamorous advice, but it is the most cost-effective thing you can do in Queenstown conditions. The schist dust that coats everything after a dry ride is actively grinding down your moving parts while they sit in the garage.
The minimum post-ride routine: hose off the worst of the dirt (not a pressure washer — that forces water past seals), wipe down the chain and re-lube, wipe the stanchions on your fork and shock, and check your brake pads. That takes ten minutes and prevents the accelerated wear that comes from letting abrasive dust sit on metal surfaces.
Weekly, or after every three to four rides, do a more thorough clean. Degrease and re-lube the chain properly. Check pivot bearings for play. Inspect tyres for cuts — schist leaves small slices in the rubber that can develop into tears over time. Check your tubeless sealant level. Clean and inspect brake rotors. None of this is complicated, but the riders who do it spend noticeably less on replacement parts than those who do not. A local bike shop can handle bigger service tasks if you are visiting and do not have the tools.
Gear choices in Queenstown come down to one principle: the terrain is harder on equipment than it looks. The trails are not especially long or especially steep by global standards, but the schist surface is relentless. Set your bike up for it, bring the right consumables, and maintain it properly, and your gear will perform. Ignore the terrain and your wallet will notice before you do.