
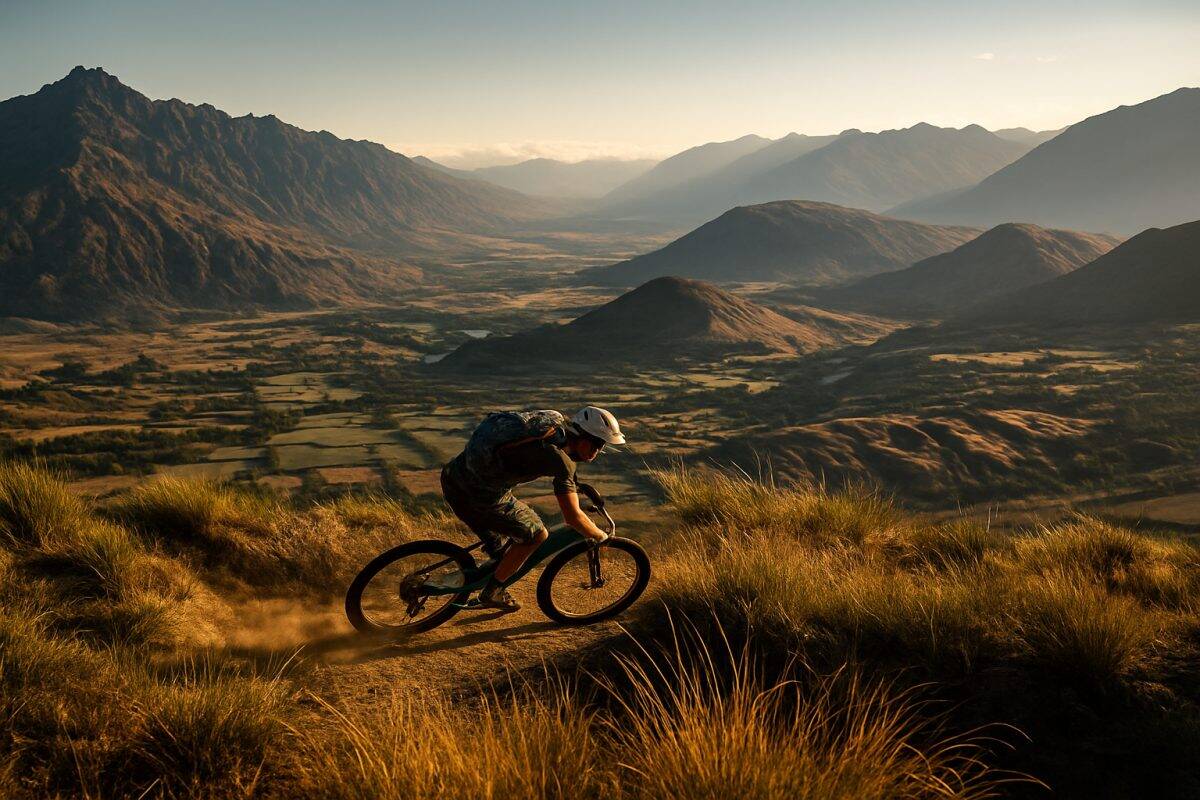
Coronet Peak is known as a ski mountain, but in summer it becomes one of the longest shuttle-accessed descents in the South Island. Close to a thousand metres of vertical drop from alpine tussock to valley floor, with trail conditions that shift through three distinct zones on the way down. It is not a bike park — there are no berms, no jumps, no groomed lines. This is natural mountain terrain with a shuttle to save you the climb.
How the Shuttle Works
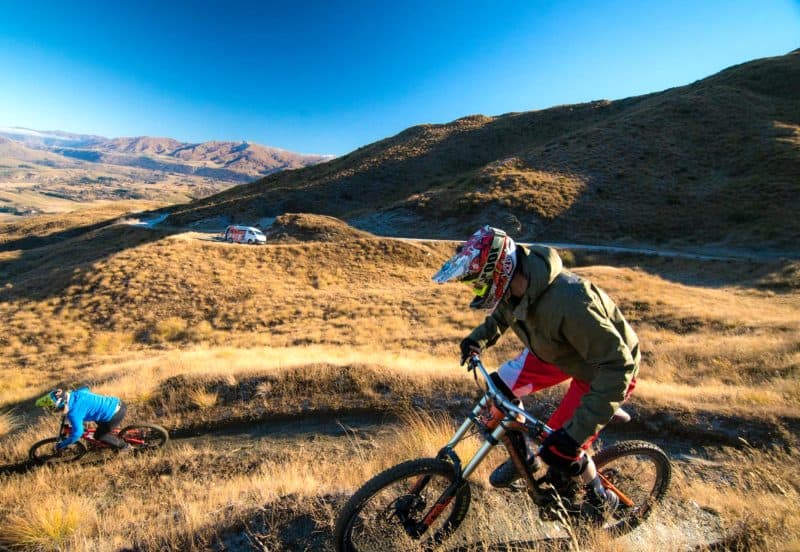
Who Runs It and When
Shuttle-accessed riding at Coronet Peak is not a permanent operation like the Skyline gondola. It runs on a seasonal basis, typically from late November through to April, and availability depends on which operators are active in any given summer. Over the years, outfits like Gravity Nelson and local Queenstown operators have offered the service, but it is not always the same company from one season to the next. Check with local bike shops — particularly Vertigo Bikes or Outside Sports — for current operator details before you plan around it.
The shuttle window roughly follows the ski field road closure schedule. Once Coronet Peak ski area wraps up for winter and the road reopens for general access, the mountain biking window begins. Early in the season, conditions at the summit can still be marginal — late snow patches and soft ground are not uncommon in November. By December the trails are typically set, and the best conditions run through to late March or early April before the ski area reclaims the mountain.
Booking, Costs, and What You Get
Pricing varies by operator and season, but expect to pay somewhere in the range of thirty to forty dollars per run, or around one hundred and fifty to two hundred for a day pass that covers multiple laps. Some operators offer group rates or half-day options. It is not cheap, but you are getting close to a thousand metres of vertical descent without turning a pedal upward, which puts it in reasonable territory compared to Skyline lift passes.
Most operators run a booking system — either online or via phone. Walk-ups are sometimes possible on quiet weekdays, but Saturdays in January you will want a booking. Bikes go on a trailer or purpose-built rack. Bring your own bike — rental options at the base are limited and you will want something you trust for this descent. Payment is usually card, though it pays to confirm. The shuttle collects from a designated meeting point near the base of the Coronet Peak road.
The Drive Up and the Drop-Off Point
The drive up Coronet Peak road is seven kilometres of switchbacks that gain roughly 800 metres in altitude. In a shuttle van, it takes about fifteen to twenty minutes. The road is sealed but narrow in places, and you will gain an appreciation for why this descent is worth paying for — riding this road on a bike would be tedious and dangerous with vehicle traffic.
The drop-off point is near the top of the ski area access road, at approximately 1200 metres elevation. Depending on the operator and trail access agreements, you may be dropped right at the summit or at a staging area slightly below. From the drop-off, riders typically have a few minutes to gear up, check bikes, and pick their line before heading off. The next shuttle usually arrives within thirty to forty-five minutes, so there is no rush to clear the top — but you do not want to be still fiddling with your dropper post when the next group rolls in.
What the Descent Actually Looks Like
The Top Section: Open Tussock and Exposure
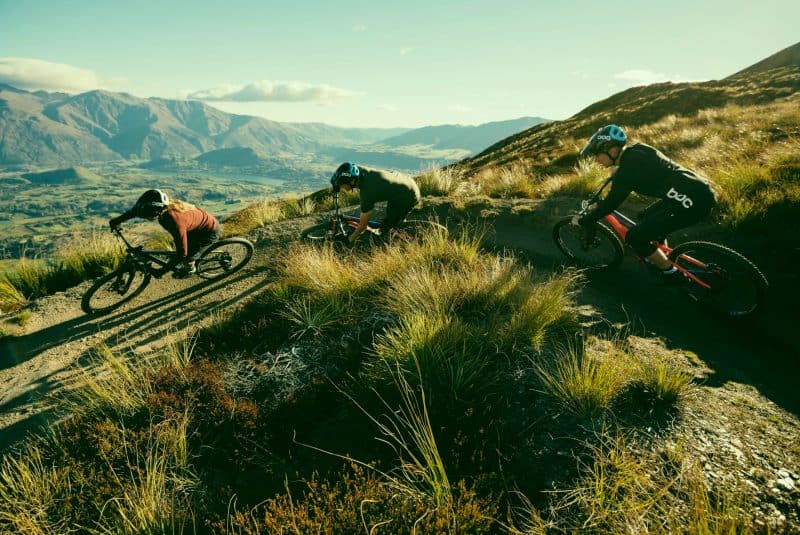
The first thing that hits you at the top is the view. On a clear day you can see from the Remarkables across to Cecil Peak and down the length of Lake Wakatipu. The second thing that hits you is the wind. The summit of Coronet Peak sits at around 1650 metres, fully exposed to whatever is moving through the atmosphere, and that exposure defines the opening section of the descent.
The trail crosses open tussock country — golden-brown grass, scattered rocks, no trees to break the wind or mark the trail ahead. The gradient starts moderate but the surface is loose. Alpine schist breaks down into sharp, skatey fragments up here, and the soil between the rocks is thin. In dry conditions, it is like riding on ball bearings scattered over hardpack. When it is damp, the same surface grips well, but the rocks stay slippery. You are descending a mountainside, not a bike park, and the terrain makes that clear from the first hundred metres.
Into the Trees and the Gradient Shift
Below about 1000 metres, the tussock gives way to mountain beech forest and the whole character of the ride changes. The trail tightens. Trees press in on both sides. Roots web across the trail surface and the soil deepens — darker, damper, more forgiving under the tyres but less predictable in its grip.
The gradient picks up through this section. Where the alpine part was exposed but relatively moderate in pitch, the bush section tilts and stays tilted. You are descending through what feels like a natural halfpipe at times, with the trail carved into the hillside and banked turns that have been worn in by riders and water. Braking becomes constant rather than occasional. If your pads were marginal before the descent, this is where they will let you know. The technical demands shift from reading loose surfaces to managing speed through tight, rooty switchbacks where the exit is often blind.
The Lower Runout and Where You Finish
The final few hundred metres of vertical are where the trail opens up again and the gradient eases. You come out of the bush onto the lower slopes where the terrain flattens toward the Coronet Peak base area. The surface here is typically well-packed singletrack, faster and more flowy than what came before.
Most routes finish somewhere near the base of the ski field road, close to the shuttle pickup point. The total descent, depending on exactly where you start and which trail options you take, covers roughly eight to twelve kilometres of trail over 800 to 1000 metres of vertical drop. A confident intermediate rider might take thirty to forty-five minutes top to bottom. Faster riders push it under thirty. There is no shame in taking an hour if the conditions or your legs demand it — this is a long descent by any measure, and the accumulated braking effort catches up with everyone eventually. Walk back to the pickup, load your bike, and decide whether your forearms can handle another lap.
Conditions That Change Everything
Wind on the Ridge
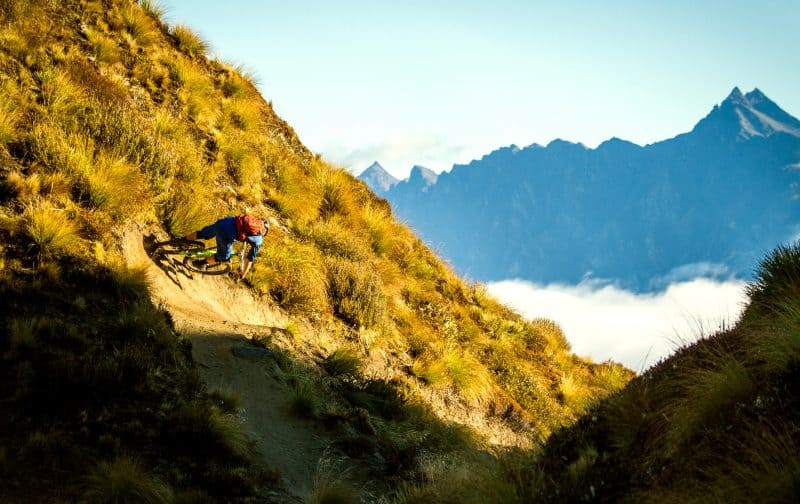
The ridgeline section of the Coronet Peak descent is where most riders get their reality check. It can be dead calm in Queenstown and blowing thirty knots on the summit. The nor-wester is the usual culprit — a warm, dry wind that accelerates over the mountains and hits exposed ridgelines with surprising force. We have seen riders literally stopped on the trail, unable to hold a line in a strong gust.
The practical issue is not just discomfort. Wind on a loose, exposed trail means you cannot predict how your bike will track. A gust mid-corner on a trail that drops away on one side is genuinely dangerous. Before you commit to a shuttle, check the wind forecast for Coronet Peak summit, not for Queenstown township. MetService and the Coronet Peak ski area webcams both give reasonable summit readings. If the forecast says northwest above twenty-five knots, think carefully. Above forty, do not go. The lower sections in the bush will be sheltered, but you have to get through the top first.
How Altitude Shifts the Surface
One of the things that makes Coronet Peak interesting — and occasionally unpleasant — is how much the trail surface changes as you lose altitude. At the summit, you are riding on alpine schist that breaks into sharp, flat fragments. It is loose, dry, and abrasive. Drop a few hundred metres into the transition zone and the soil appears — thin at first, then deeper and darker. By the time you are in the beech forest, you are on a completely different surface: loamy, root-laced, and often damp even when the top was baking.
This means your tyre choice is a compromise. What grips on the alpine scree may wash out on wet roots. What hooks up in the loam may skip and slide on the loose rock above. Most local riders run a slightly softer compound up front for the rocky top section and accept that it will feel draggy in the dirt below. Tyre pressure matters here too — drop a few PSI from your normal setting for the rocky top section, but not so much that you are squirming on the faster lower trails.
What You Need to Ride It
Skill Level: Honest Assessment
This is not a ride for your first week on a mountain bike. The Coronet Peak descent demands a solid intermediate skill set at minimum, and an honest assessment of your abilities before you get in the shuttle is worth more than any amount of bravado at the top.
The crux challenges are threefold. First, the loose alpine surface requires confidence in letting the bike move underneath you without grabbing the brakes. Second, the steep bush section has blind corners and root-covered switchbacks where you need to commit to a line and trust it. Third, the sheer length of the descent — your grip strength, your concentration, and your legs all get tested over thirty-plus minutes of continuous descending. If you are comfortable on grade four trails in dry conditions and have experience on loose, natural terrain, you will manage. If your riding has mostly been on groomed flow trails or bike park jump lines, this will feel very different.
Bike Setup That Actually Matters
A full-suspension trail bike or enduro bike with 140mm to 170mm of travel is the sweet spot for this descent. Hardtails are rideable but punishing — the rocky top section will rattle your hands and the length of the descent amplifies every impact your body absorbs. Cross-country bikes are technically possible but not recommended; the steep sections will have you hanging off the back of the saddle with nowhere to go.
Brakes are the critical component. You want four-piston calipers if you have them, and fresh pads — metallic compound, not organic. The descent is long enough and steep enough that brake fade is a real concern, especially on a warm day. We have seen riders walking sections because their brakes overheated halfway down. Run larger rotors if your frame allows it. Tyres should be proper mountain bike rubber — 2.3 inches or wider, with an aggressive tread pattern. Bring a spare set of pads in your pack. It is not paranoia; it is experience.
Getting the Most Out of a Shuttle Day
How Many Runs in a Day
Most riders get three to five runs in a full day of shuttling at Coronet Peak, and that is about right. The descent is long enough that each run is a genuine effort, not the three-minute sprint you might get at a lift-accessed bike park. Three solid runs gives you roughly 2500 to 3000 metres of vertical descending, which is a full day of riding by any standard.
The first run is usually the best. You are fresh, the trail is new (or at least it feels that way after the shuttle ride up), and your concentration is sharp. By the third run, your forearms are feeling it and your braking points start drifting later than they should. The fourth and fifth runs are where mistakes happen — fatigue dulls your reaction time and the trail feels faster than it did two hours ago. Know your limits. There is no trophy for squeezing in one more lap, and the consequences of a tired crash on steep, rocky terrain are worse than wishing you had done one more run on the drive home.
Pairing It with Other Riding
Coronet Peak shuttling works well as one element of a bigger Queenstown riding day or trip. A morning session of two or three shuttle runs, followed by an afternoon at the Skyline Bike Park or a cruisy ride around the Queenstown Trail network, gives you variety without flogging yourself on the same descent all day.
If you are in Queenstown for several days of riding, pencil in the shuttle day for early in your trip when your arms and concentration are fresh. Save the more forgiving trails — Wynyard, the lake tracks, the Arrow River path — for later in the trip when your body is tired but you still want saddle time. Pairing Coronet Peak with a rest day the following morning is also smart planning. The accumulated braking effort from a full shuttle day shows up in your forearms and hands the next morning, and pushing through that fatigue on technical terrain is how people get hurt.
The Coronet Peak shuttle descent is one of those rides that rewards preparation and punishes complacency. Get the conditions right, bring the right bike, and respect the length of it, and you will have one of the best gravity rides in the Queenstown region. Rush it, underestimate the wind, or ignore tired arms, and the mountain will remind you that it does not care about your plans.